Labor and Time for Creating a Juice Groove
Crafting the Perfect Cutting Board: Labor and Time for Creating a Juice Groove
A well-crafted cutting board is a staple in any kitchen, and adding a juice groove can elevate its functionality. Not only does a juice groove catch excess liquids, keeping your countertop clean, but it also adds a professional touch to your kitchenware. However, the process of creating this feature requires careful planning, labor, and time. In this article, we’ll break down the steps involved in making a juice groove in a cutting board and provide insight into the labor and time required for this task.
What is a Juice Groove?
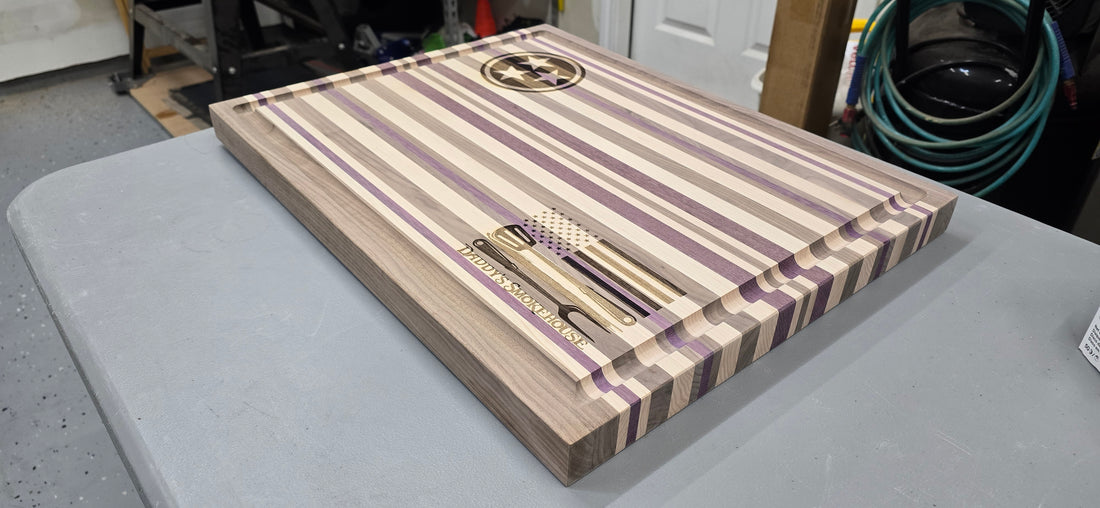
A juice groove is a shallow channel or indentation around the perimeter of a cutting board designed to catch juices from fruits, vegetables, or meats. This helps prevent messes and keeps food preparation areas tidy. It’s a practical addition, especially for those who frequently work with juicy ingredients.
Tools and Materials Needed
Before diving into the labor and time estimates, let’s outline the necessary tools and materials:
- Cutting Board Blank: Choose a hardwood like maple, walnut, or cherry.
- Router: A plunge router with a round-over bit is ideal for creating the groove.
- Clamps: To secure the board during routing.
- Measuring Tape and Pencil: For marking the groove’s dimensions.
- Safety Gear: Goggles and hearing protection.
Steps to Create a Juice Groove
-
Measure and Mark (10-15 minutes):
- Begin by measuring the desired width and depth of the juice groove. A typical groove is about 1/2 inch wide and 1/4 inch deep. Use a pencil to mark the groove outline on the board.
-
Setup the Router (10-15 minutes):
- Set up the router with the appropriate bit and adjust the depth. Ensure all safety gear is worn, and the work area is clean and organized.
-
Routing the Groove (30-45 minutes):
- Secure the cutting board with clamps to prevent movement during routing. Carefully guide the router along the marked lines to create the groove. Depending on the length of the groove, this step may take up to 45 minutes, especially if you need to make multiple passes for deeper grooves.
-
Finishing Touches (20-30 minutes):
- After routing, sand the groove and the entire cutting board to remove any rough edges or splinters. A finer grit sandpaper will provide a smooth finish, which is essential for food safety.
-
Cleaning and Oiling (15-20 minutes):
- Finally, clean the cutting board and apply a food-safe mineral oil or cutting board oil to enhance its appearance and protect the wood.
Total Time Estimate
In total, creating a juice groove in a cutting board typically takes between 1.5 to 2.5 hours, depending on your skill level and the complexity of the design. Here’s a quick breakdown:
- Measuring and Marking: 10-15 minutes
- Setup: 10-15 minutes
- Routing: 30-45 minutes
- Finishing Touches: 20-30 minutes
- Cleaning and Oiling: 15-20 minutes
Labor Considerations
Creating a juice groove may seem straightforward, but it requires attention to detail and precision. Here are some labor considerations:
- Skill Level: A beginner may take longer and require additional setup time, while a seasoned woodworker will have techniques that streamline the process.
- Tools: Having the right tools on hand can significantly reduce the time required. A well-maintained router and quality bits will perform more efficiently.
- Complexity of Design: If you opt for a more intricate groove design, such as a double groove or a decorative edge, this will add to both the labor and time involved.
Conclusion
Adding a juice groove to a cutting board is a labor-intensive process that enhances both functionality and aesthetics. By taking the time to measure accurately, set up your tools correctly, and finish your work meticulously, you’ll end up with a beautiful, practical cutting board that serves its purpose well. While the process may take a few hours, the end result is well worth the effort, providing you with a kitchen tool that will last for years to come.
Have you ever made a cutting board with a juice groove? Share your experiences and tips in the comments!